Showing posts with label soup. Show all posts

Tuesday, January 29, 2013

Glorious Garlic


This week Lufa farms gave us the gift of garlic. Garlic keeps well in the fridge, but why not make the most of its germ killing properties in one delicious dose? I decided to treat myself to some fine tasting roasted garlic and let that inspire me. From there, I made some amazing roasted garlic and rep pepper soup, and a hybrid guacamole dip. Enjoy!

Roasted Garlic and Red Pepper Soup
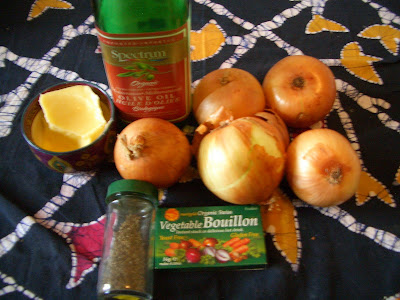
Ingredients:
2 bulbs roasted garlic
4 roasted red peppers
4-5 shallots or a small onion
1 medium tomato
3 tbs. olive oil
6 cups vegetable stock
1 tsp. dried basil
1 tsp. dried oregano
½ tsp. chili flakes
salt and pepper to taste.

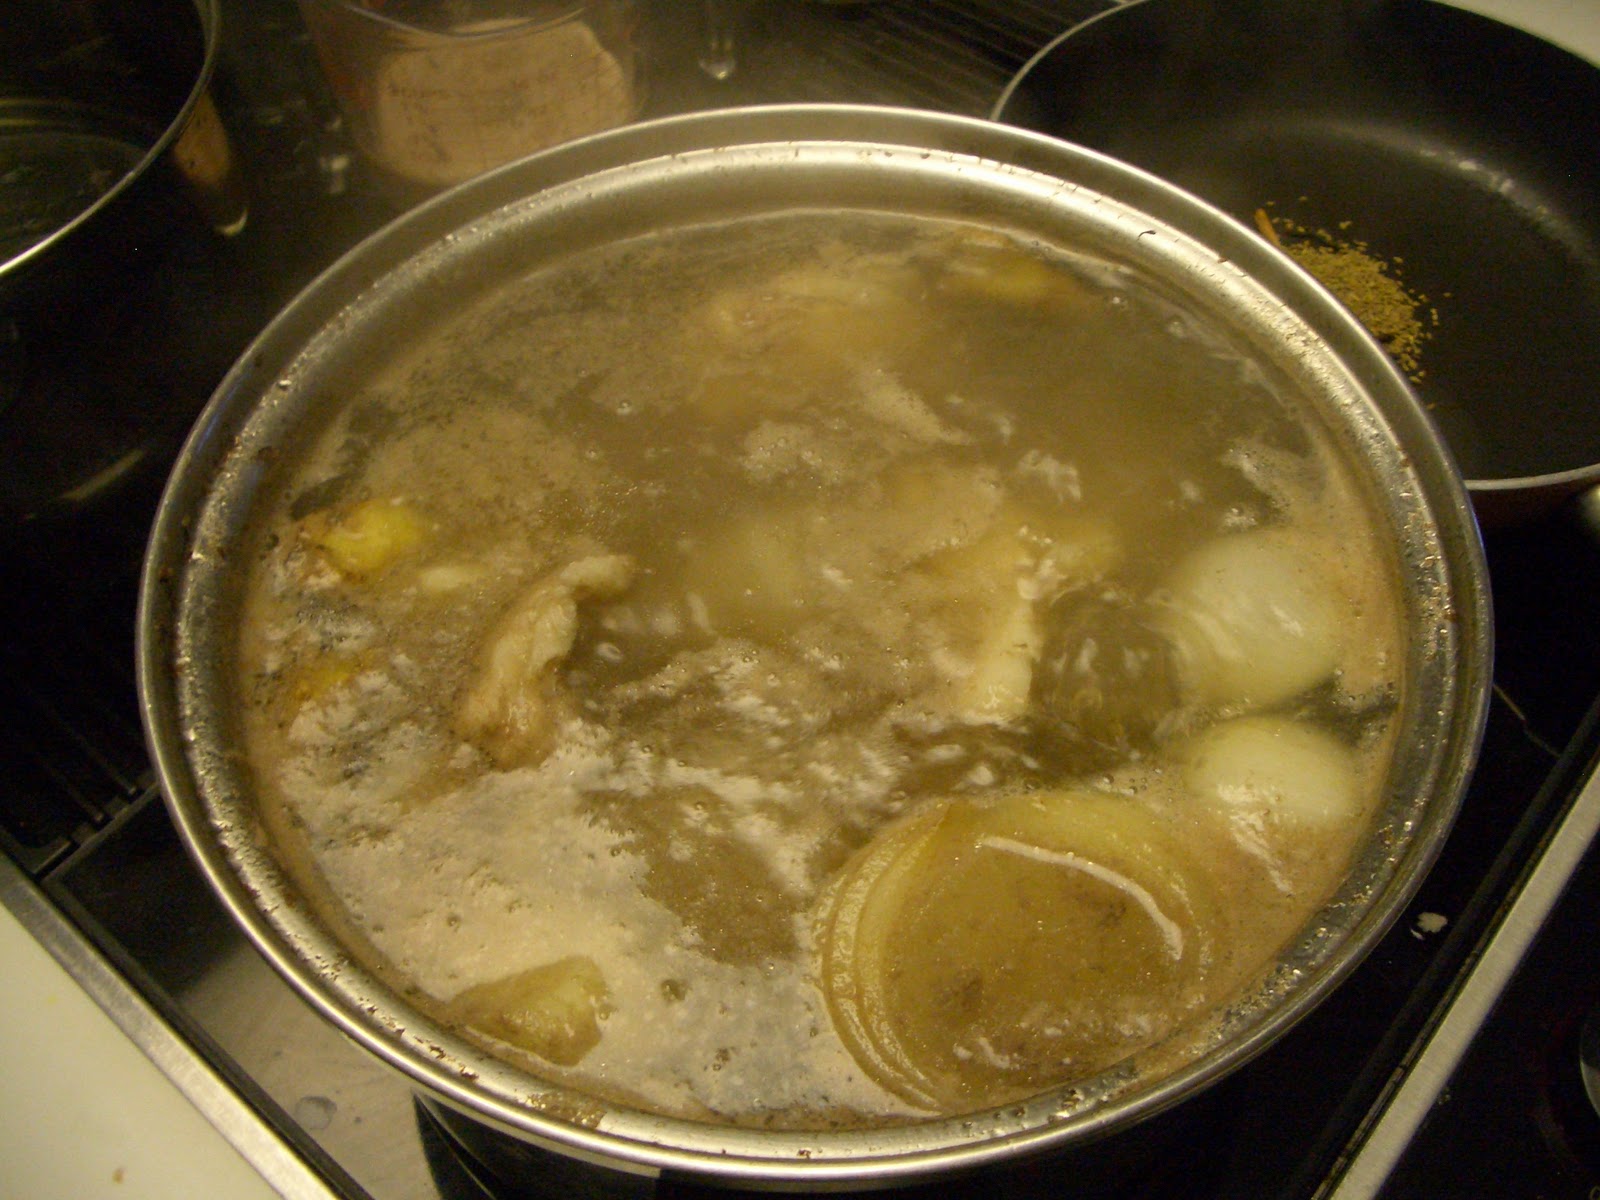
Start by roasting your garlic and peppers.


Slice the tops off the garlic and seed the peppers and cut them in half. Drizzle the garlic with olive oil. You can be generous with the oil because you can throw it into the soup later or keep it in the fridge for up to a week. Lay the peppers skin side up and place into 450 degree oven until garlic turns brown (30 minutes).


Your peppers will need about 10 minutes more for their skin to char. Let the veggies cool until you can peel the skin off of the peppers and squeeze the roasted cloves out of their papery shells.

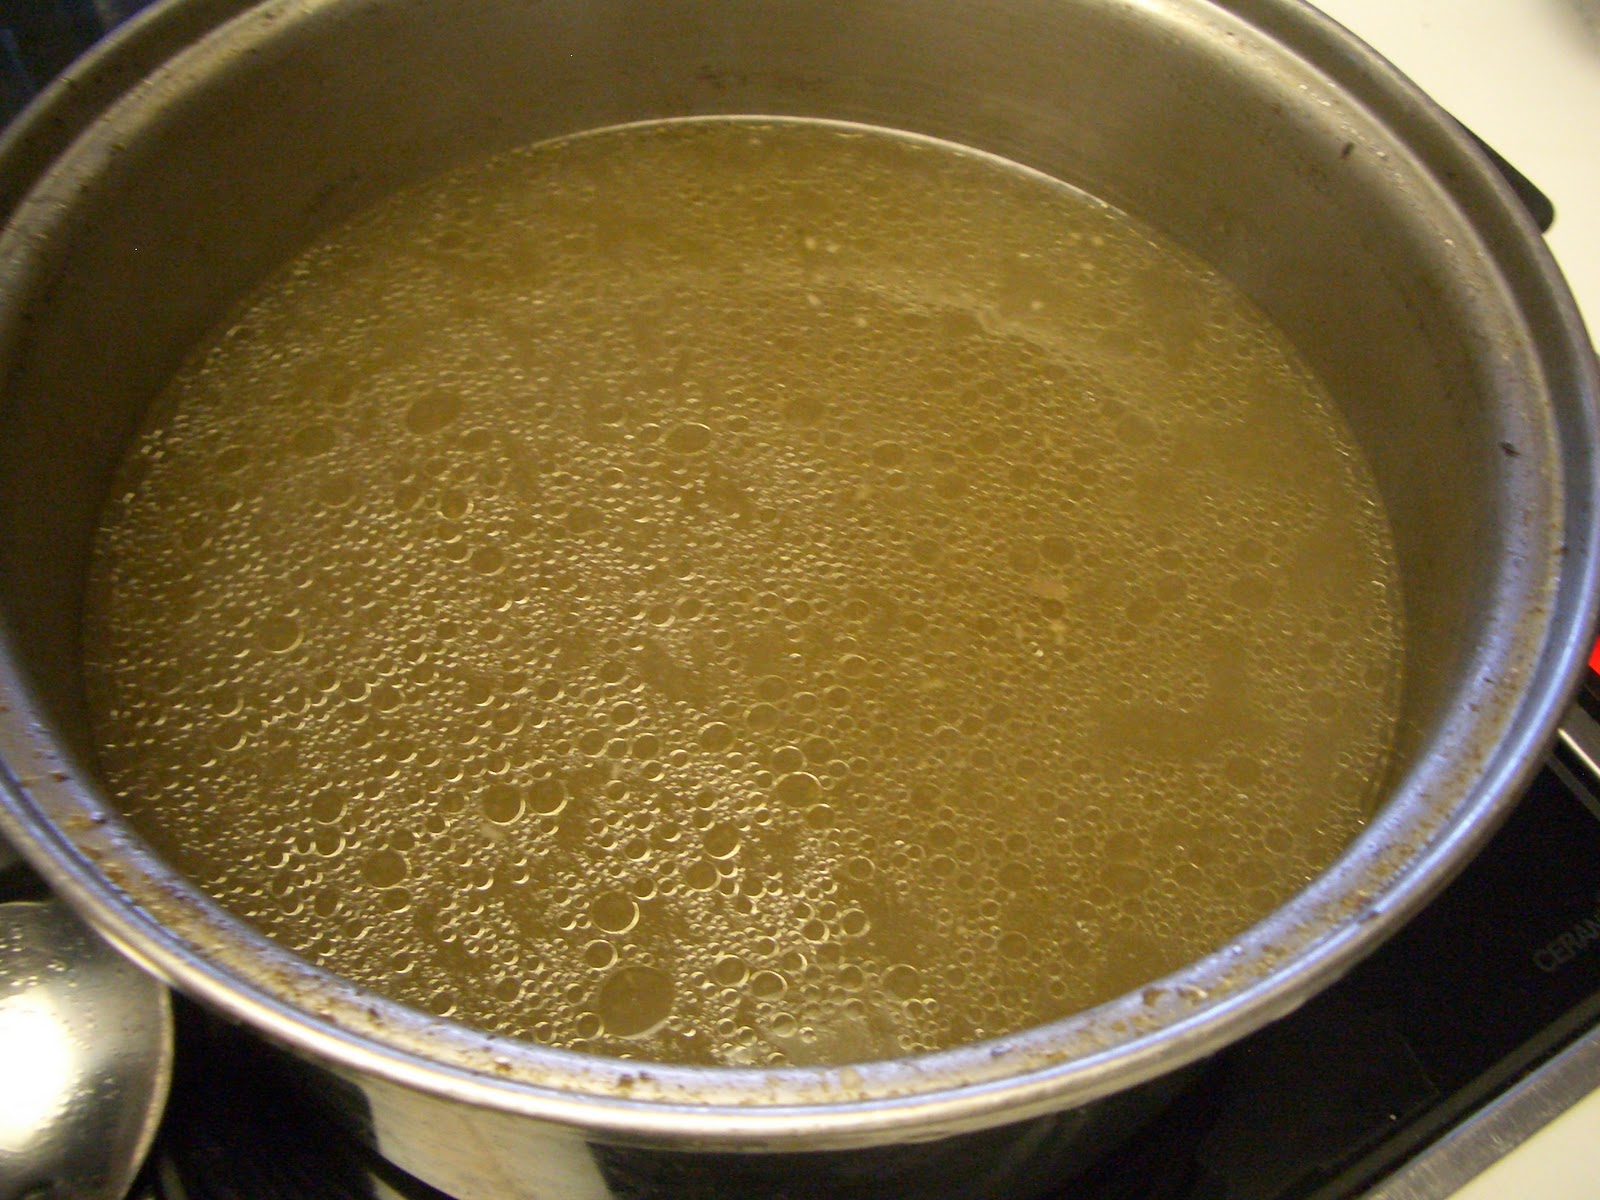
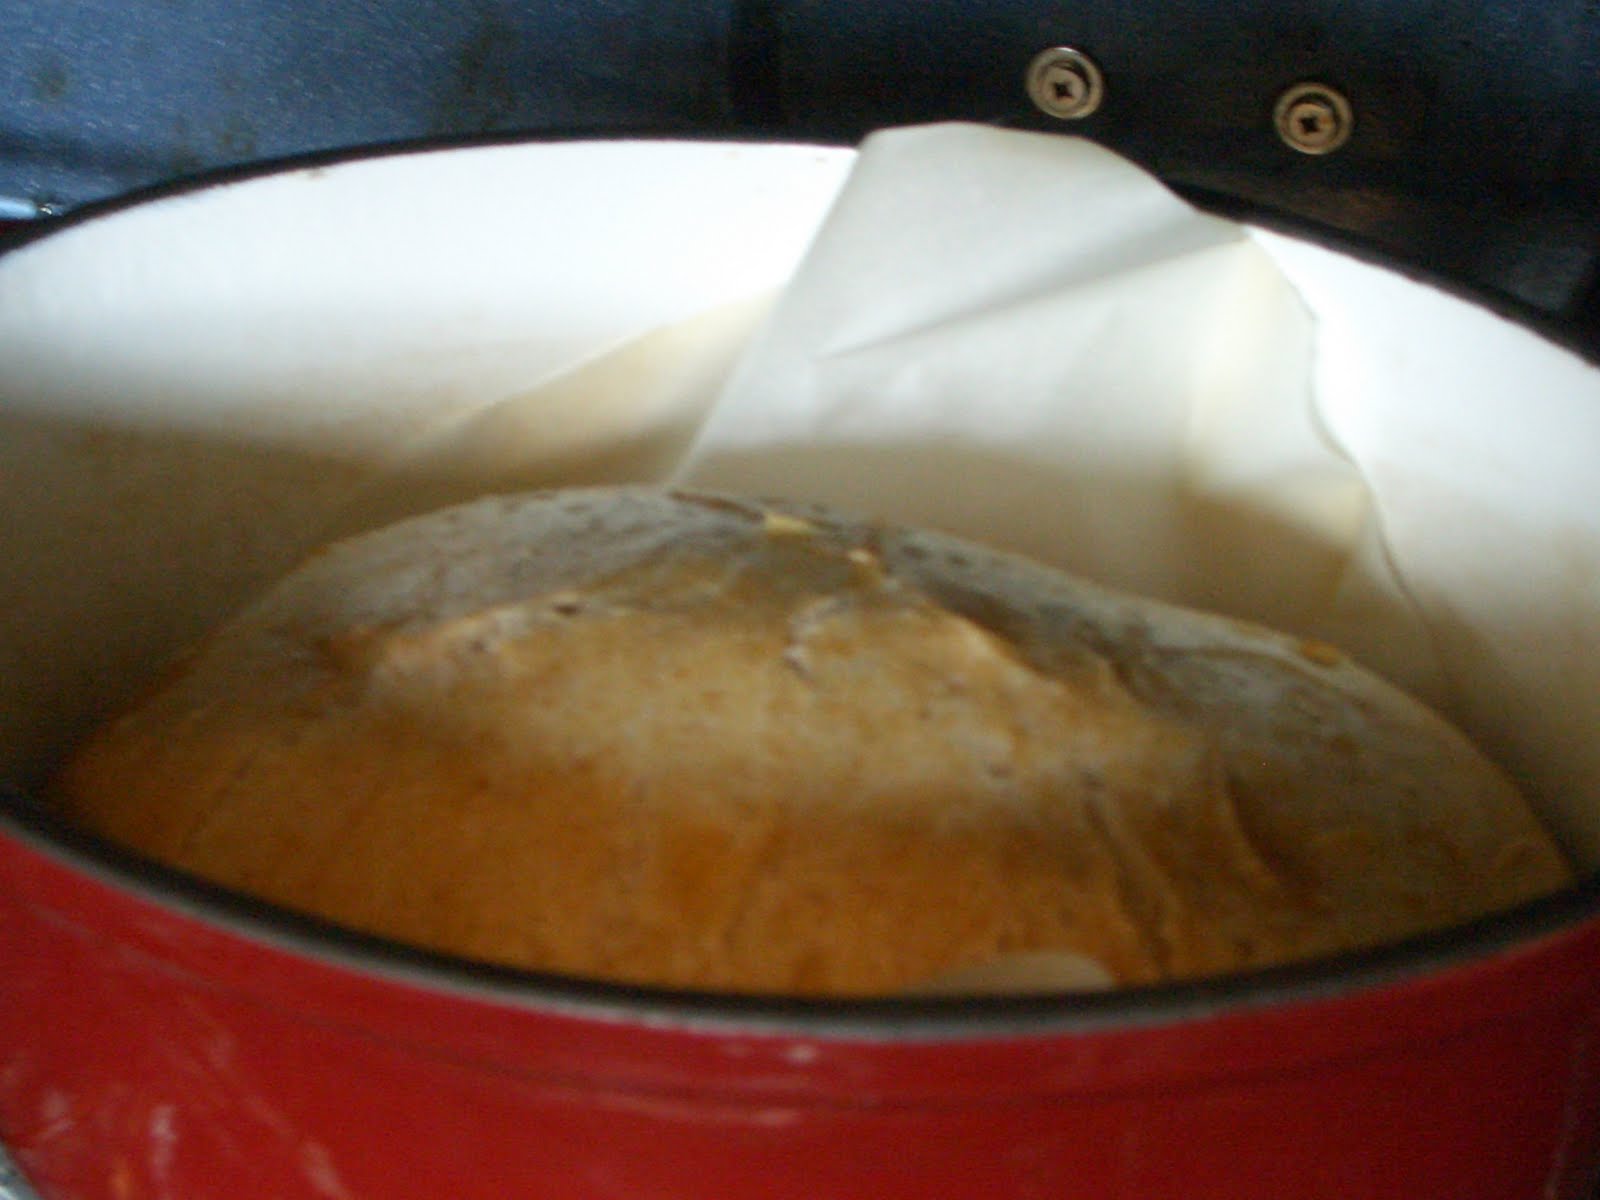
Start frying the onion and tomato in olive oil until fragrant and soft. Add the rest of the ingredients and let simmer for about 20 minutes. Liquify the soup in the blender or food processor and return to pot to 
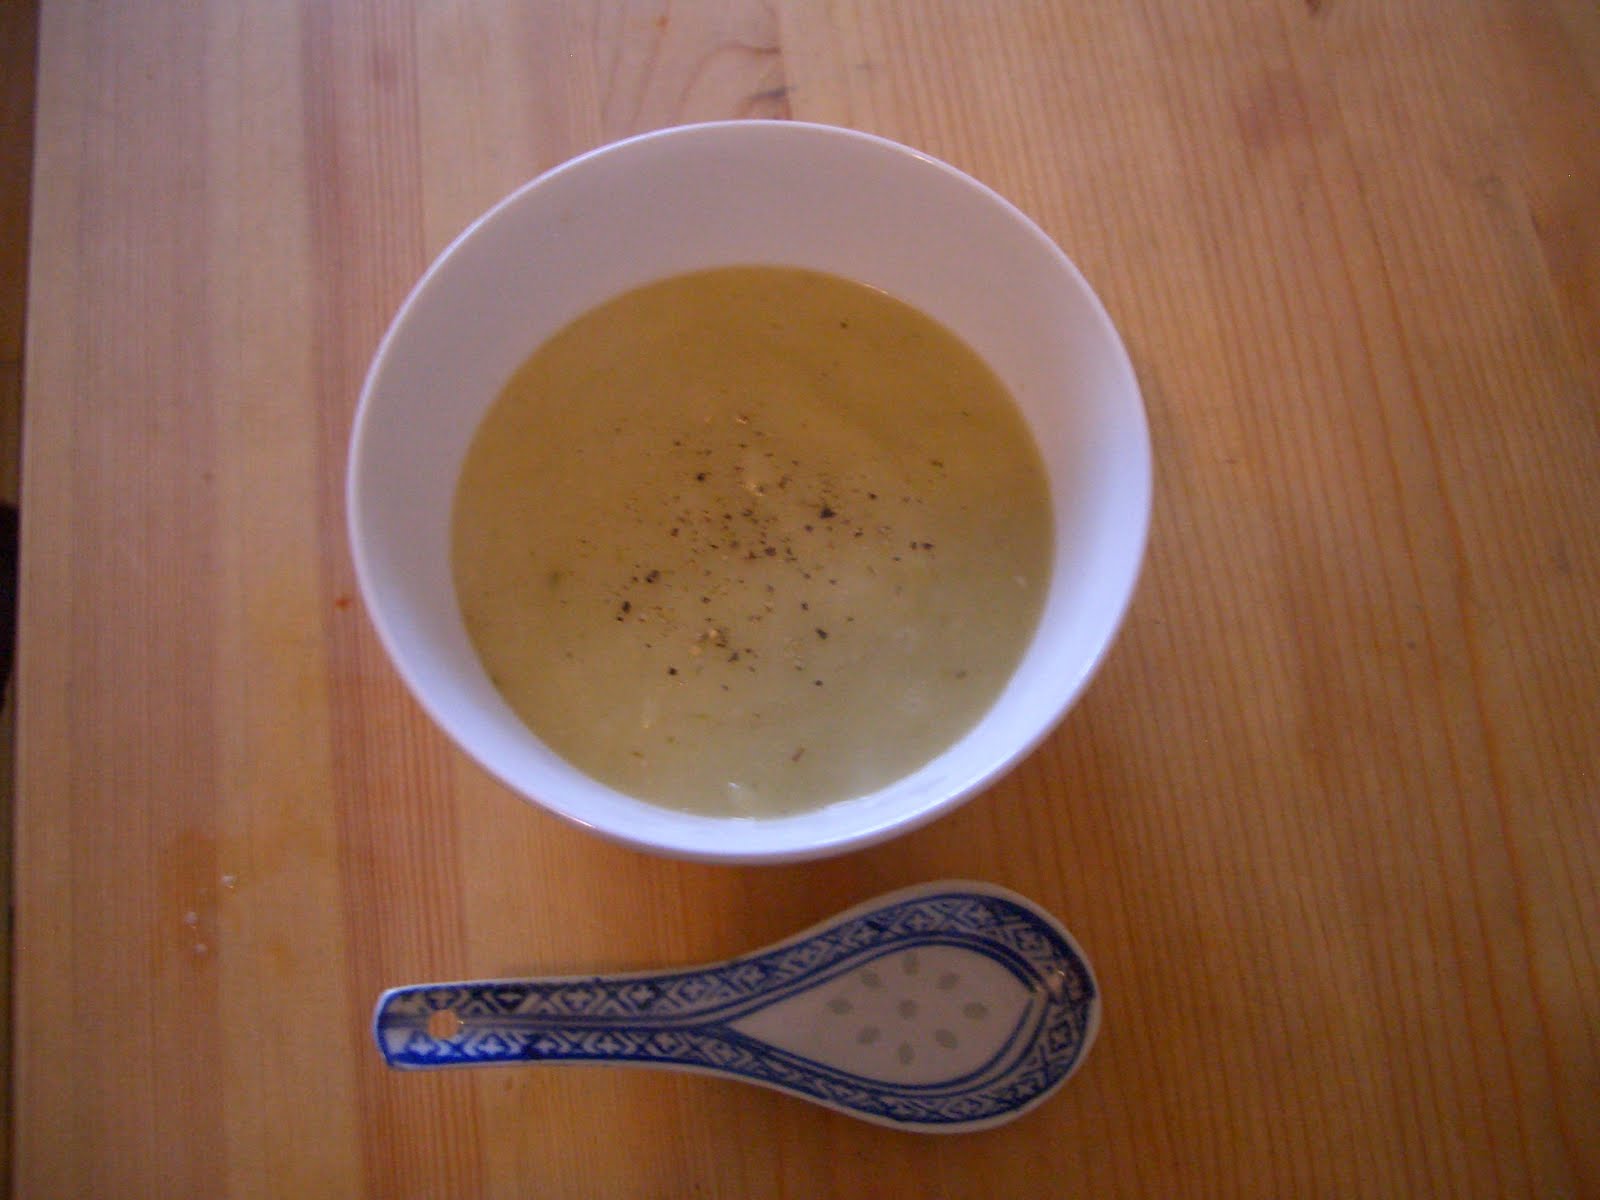
simmer for 10 minutes more.


This soup tasted great enriched with a drizzle of cream!


I had some extra parsley and cream cheese hanging around in the fridge so I decided to experiment, so I made some hybrid guac. This dip had a great contrast of deep rich flavor from the roasted garlic and lots of zing from the parsley.

Ingredients:
2 bulbs roasted garlic
2 ripe avocados
2 tbs. cream cheese
4 tbs. chopped parsley
juice of half a lemon
salt and pepper to taste

Bung everything in a food processor or mash with a fork. Done. I ate mine with celery and crackers, yummy!


Sunday, January 15, 2012

pho fantasy


If there is one soup I can't ever live without, that brings so much hot, slurpy, soupy pleasure to my life, and has even brought a tear of joy to my eye, is the mighty, unequivocal, irresistible pho. I love this soup. No, you don't understand. I LOVE this soup. Ever since I tasted what I consider to be the original pho back in 2009, I have dreamed of trying to recreate it; that full, deeply flavourful broth, the green, lively herbs brightening up the taste of the soft and yielding rice noodles, the paper thin beef slices cooking instantly from the ladles of hot broth showered on them... I could write an ode to this soup. But instead, as is customary on this blog of mine, I will show you how I made some pho 'fo my fine self!


Using and adapting a recipe found on epicurious.com, here's what happened.


Charring onions and ginger. I imagine that back in the day, pho would have been made over an open fire, thus making it quite easy to blacken the onions and ginger. The modern version saw me broiling these guys until they got smokey and black. Then I peeled them and they went into the stock pot.

Toasting the spices to go into the broth. Do not underestimate the power of a medium heat applied to fragrant cloves, anise seeds and cinnamon. By throwing this trifecta of deliciousness into a hot pan, you release all of its oils and somehow, the secrets of the universe come wafting into your nostrils. You smell this, and you just KNOW it's going to taste good. These spices go into cheesecloth and basically brew in the beef stock, elevating a beef bone tea into delicious pho juice. 


Starting the broth. Beware, this blog is becoming very very non vegetarian. After a visit to the local butchers, where we bought some beef bones, some flank roast, and some sirloin, we came home and started the broth.


The broth takes hours, people. Hours wherein you skim the scum and fat from the liquid, transforming bones and bringing them one step closer to some Vietnamese fantasy.

 
Repeat after me: Pho juice! Pho juice! Pho juice! The broth's been strained, the cheesecloth with spice trifecta has been removed, and it's piping hot, ready to be made into pho.


This isn't just about the beef broth and the noodles. Oh, no. Pho is all about the garnishes. When I ponder the mysteries of the beautiful pho, I realize that it's the perfect combination of soup AND salad in one bowl. 

 
When I was in Vietnam I was amazed at the variety of greens that you could throw into your bowl: mustard greens, dandelion leaves, mint, holy basil, coriander, beansprouts...and those greens just kept on coming, appearing in huge wet piles on white plastic dinner plates. 

 
You mustn't forget about balancing the flavours with some lime, chillies, hoisin and hot sauces too!


Steamed some properly cut (lengthwise!) baby bok choi to add even more greenery to the pho.

 
Pho assembly line action. Getting all the ingredients in the bowl before pouring the broth.

  That flank roast bubbled away in the stock pot for over four hours. It tasted like heavenly cows. Please note the raw, paper-thin sirloin. Just a bit in the bowl, save some for the others!


My bowl, post-garnishing. I was so excited to finally taste it!


Ah...perfectly nourishing, just the right amount of heavy and light, of crisp and soft, of spice and sweetness. If this soup was a gesture, it would be a hug.


Friday, September 16, 2011

French Onion Soup

Can you feel the chill in the air? Why, just last weekend it was balmy and warm...September you fickle fool. I know what's coming though, and it's only going to get worse! The one saving grace about autumn is nature's bountiful harvest, and inexpensive, fresh and local produce. Although I enjoy visiting the Jean Talon market at any time of the year, it seems as though we are now in the apex of freshness and possibility.

I made a simple onion soup to keep the chill away on the first of fleeting fall days. Why is fall so short and winter so long?


The culprits in question: 5 onions, veg stock, thyme, butter, olive oil. Put these humble ingredients together and it makes a party for your mouth!

Methods I have seen used firsthand to prevent onion tears:

1) Wearing ski goggles whilst chopping.

2) Shoving a piece of bread inside your mouth between the teeth and upper lip.

3) Holding an unlit match between your teeth.

4) Keeping the onions cold in the fridge.

What I do: Nothing. I just cry through it. Enjoy the cathartic release, people!

After wiping away the tears, I massaged the onions in a soup pot with:

3 Tbs butter
3 Tbs olive oil
a few pinches of salt
a splash of water

Then it was time to sweat the onions. Cover with a tight fitting lid and cook over medium-high heat for about 10 minutes. When the water has evaporated, remove the lid and it's time for the best part: caramelizing the onions! They go from firmly pungent white strings to sweet, softly yielding golden filaments. All in one hour, while making your kitchen smell absolutely fantastic.

When an hour has passed, it's time to make these caramelized onions into soup!


Add 6 cups of stock. I used veggie bouillon cubes but I am sure this soup would work amazingly with a homemade stock. Then, add about a teaspoon of thyme and simmer for 15 minutes. I tasted mine and it was way too sweet so I added a tablespoon of port vinegar to impart some tang to the soup.


Ce n'est pas une vrai soupe aux onions sans le fromage et le pain! Yes, so we need some bread and cheese to finish this baby off. Some multi grain baguette and some emmenthal grated and over top and then broiled should do the trick!


Get that bread in the soup bowl and laddle your creation over top. There's something slightly subversive about wetting toasted bread. It expects to stay crispy but I had other ideas for it!


Monday, April 4, 2011

no-knead bread

After seeing this attempted by a friend on facebook and looking at the beautiful result, I thought I'd give this a try. I was in the middle of writing papers, which is what my life is all about at the moment, I needed a bit of procrastination in carbohydrate form. The dough took less than 3 minutes to prepare. All you need is time for it to rise and for the yeast to do its thing, and a 2 hour window of opportunity to let it proof and bake. This bread is so easy and the results taste like you spent hours slaving away. This one's a keeper, and I plan on making more of this in the near future.

You'll need:

3 cups of flour (i used 2 c. organic all purpose wheat, and 1 c. organic spelt)
1 1/2 cups of warm water (you'll need 1/4 c more if you use spelt or other alternative grain flour)
1 teaspoon salt
1/3 teaspoon instant yeast


Combine the ingredients and mix with a wooden spoon. The dough should look "shaggy" and "piecey".

Here's what my dough looked like after mixing. Now all you need to do is cover the bowl with plastic wrap and let sit for 12-18 hours.


My specimen after a nice long sleep. Way to go yeast, you did your thing!

The next step: you might need to wet your hands to turn over the dough a couple of times to form a nice smooth ball. Nestle it into a tallish bowl for it to rise for another 2 hours. 30 minutes before you want to bake it, heat the oven to 450 degrees and pop in a heat resistant pot with a lid, such as a cast iron casserole. When the oven and pan are nice and hot, place your dough into the pan and give it a few shakes to distribute the dough nicely. Cover the pan with your lid. This creates steam while the bread bakes and results in a wonderfully crispy crunchy crust.

After 30 minutes of baking, remove the lid and bake for another 15 to 20 minutes. You can tell your bread is ready when it sounds hollow when you tap it.

Straight out of the oven. Note the parchment paper at the bottom of the pan to prevent sticking.

I love baking. I am always amazed by how beautiful it can be. Is this the end of store-bought bread for me?


The spelt flour added a sweet nutiness to the bread. All that resting for 12-18 hours imparts a complex flavor to the bread with a dense and chewy crumb and a crusty outer shell. Amazing.
I scarfed down two slices with butter while it was still hot. The next day it got slathered with cream cheese, smoked salmon and capers.


Sunday, March 20, 2011

courgette cauliflower leek potato soup

Hello comrades. Long time no see me eat. I made a soup a while back with great results, easy peasy, have a look!

The zukes were dying, time for soup! Chop that shizz up. Cauliflower, zuke, leek, garlic, onion and the humble potato coalescing for your pleasure.


In case you were wondering, this is about 2 glugs of olive oil. Glug = about a tablespoon.

Your hero hard at work. Blog time.

Veggies get softened in the olive oil until they are steamy and fragrant. Then I threw in half a can of coconut milk and about 4 mugs of veggie broth. Cook for 20 minutes or so. Next step (not pictured) involves ladling the soup into the blender and pureeing.

You will also make this face if you try my soup recipe. I guaran-frikkin-tee.

Random breakfast shot! Ask me about those potatoes. They practically reveal the secrets of the universe they're so good.

Thursday, October 7, 2010

leek and potato soup


As the weather cools off comes the time to make soup. This leek and potato soup was ridiculously easy to make and eat. Seeing as I am in full swing of the school/work/life shuffle, fast and easy food is all I am capable of. Plus, I'm making a nice dent in the 10 lbs of potatoes I purchased last month.

Oh, hi there.

8 magic ingredients for this soup: leek, potato, onion, garlic, veggie stock, herbes de provence. Not pictured: salt to taste and olive oil for frying.

Chopping action first.

Peel and chop yer tater tots like so.

Marvelous leek rings. Don't forget to rinse these guys, dirt likes to hide in the crevasses.

You will need about this much oil. For me, this is 2 glugs.

Fry the onions and leeks over medium heat for 5 minutes, then add the garlic and potatoes. Stir, then add about 4 cups of stock, salt and herbs. Boil for 20 minutes.


Now it's blending time. This steam is dreamy, isn't it? A couple ladles at a time go into the blender. Whiz it up until smooth. Transfer into another container. Continue until all the soup is blended. Careful, don't burn yourself. Put the blended soup back on the stove to re-heat and provide precious mingling time so all the veg can get reacquainted.

Done!